![A logo for a tech-focused website that aims to simplify and streamline technology for its audience, with a clean and modern design that embodies simplicity and functionality [using a sleek and minimalistic approach] [incorporating tech-inspired elements]](https://jacksonisaac.com/wp-content/uploads/2024/03/img-i0qijphmwgcu5l9lakcrkyq6.png)
Hola Amigos,
Wishing all my Indian Readers a very Happy Republic Day 🙂 \m/
Just got my hand on Fedora 21 Live Workstation iso. A delight for fedora users and a great new year gift 😉
Fedora 21 comes in 3 different editions.
1. Workstation: For desktop and Laptop users.
2. Server: For enterprises having datacenter/servers.
3. Cloud: Minimal image of Fedora to be deployed on cloud environments (Virtualization).
What is a Live Disc?
Live image lets you try out the Linux distribution on your system without actually installing it on the machine. This helps us to check out if the Linux distro work smoothly or not (Graphics, WiFi and other Hardware compatibility) and try out the features before installing.
Here I am going to show how to install F21. You can also follow my old post on Installing Ubuntu 12.04 using the manual partition method.
A) Setting up Installation Disc:
1. Download the iso from here.
2. Burn the iso file on a DVD/CD. If you want to burn the image on USB drive then follow the steps given below according to the OS you are currently using.
Note: Backup the USB drive before continuing with step II, as all the data will be formatted and the image file will be burnt on the USB drive. And later do not make changes in the file directory of the USB drive, for it to function properly and the Installation to be error-free.
3. Reboot the system.
4. When you see the startup screen goto the BIOS setup by pressing ‘DEL’ button or ‘ESC’ button, according to the key option displayed on the screen. Usually it is the ‘DEL’ button.
Many users prefer tapping ‘DEL’ button continuously.

5. Navigate to the BOOT Menu.

6. Select Boot Device Priority/Similar for different BIOS versions.
7. a)Set the 1st Boot Device to CD/DVD ROM if the image file is burnt on disc.
OR

8 (i). After making sure everything is configured properly, Press ‘F10’ to save changes and exit. And the machine will automatically reboot.
8 (ii). Navigate to Exit menu, and select Exit And Save Changes/Similar. Machine will reboot.

The machine will reboot automatically and the device selected as 1st Boot Device will be booted and the installation of Fedora 21 will be loaded.(image file been burnt on the Drive/Disc)
Do not remove the Disc/USB Drive while the machine reboots
B) Fedora Installation:

You can either try Fedora 21 without installing (Best thing about Live CD) or you can Install it along with other OS or as a single OS.

1. Select your language and click on Continue.

2. Now Select your timezone either by clicking on your country/region or you can select it from the dropdown at the top left corner (Region – City). After configuring this click on Done.

3. We need to configure the Install Destination. We need to select on which disk we want to install fedora. Here you can see only one as I am using VirtualBox. You can also refer to the link here if you want to manually partition the disk.
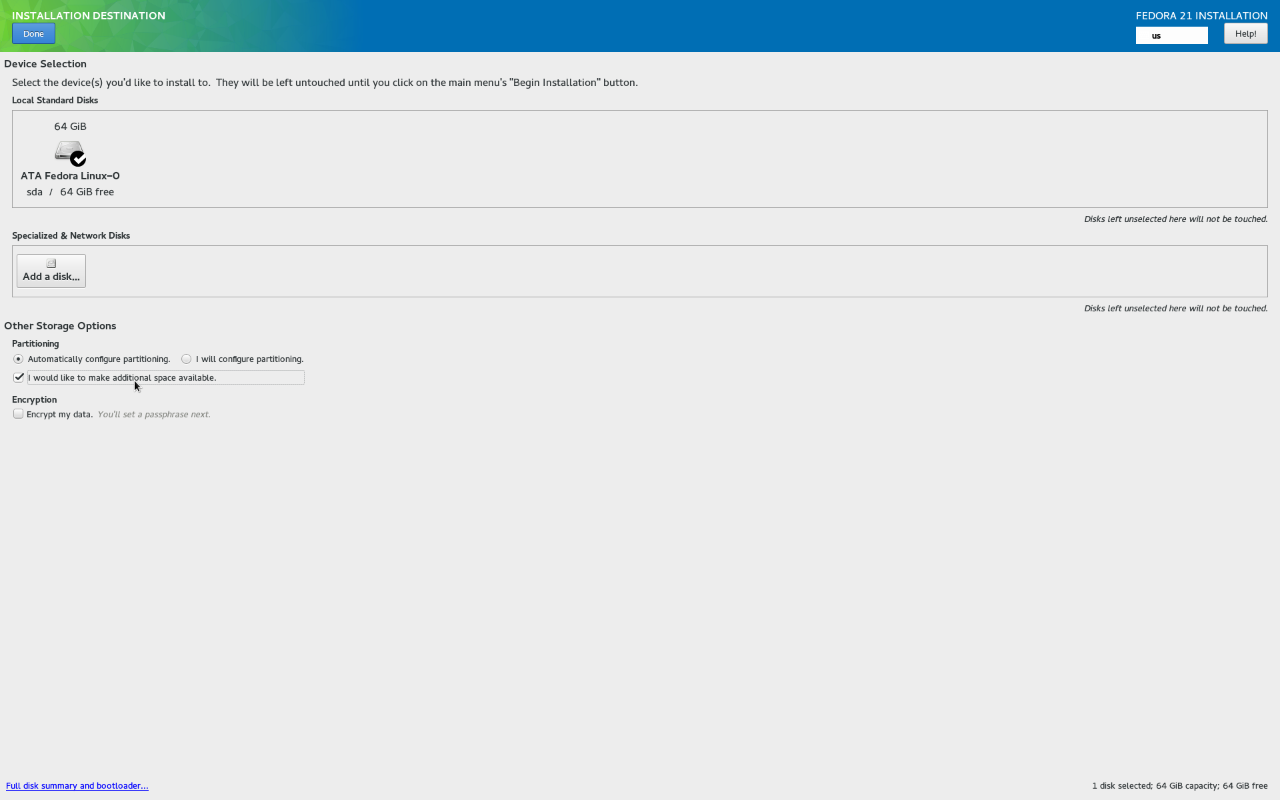
Reclaim Disk Space if you have data stored on your partition.

Note: Backup your data before formatting a partition.
4. In Installation Summary, you can see something like the image below. If you see any icon with exclamation mark on it, you need to complete that step before continuing (Refer Step 2 and 3).

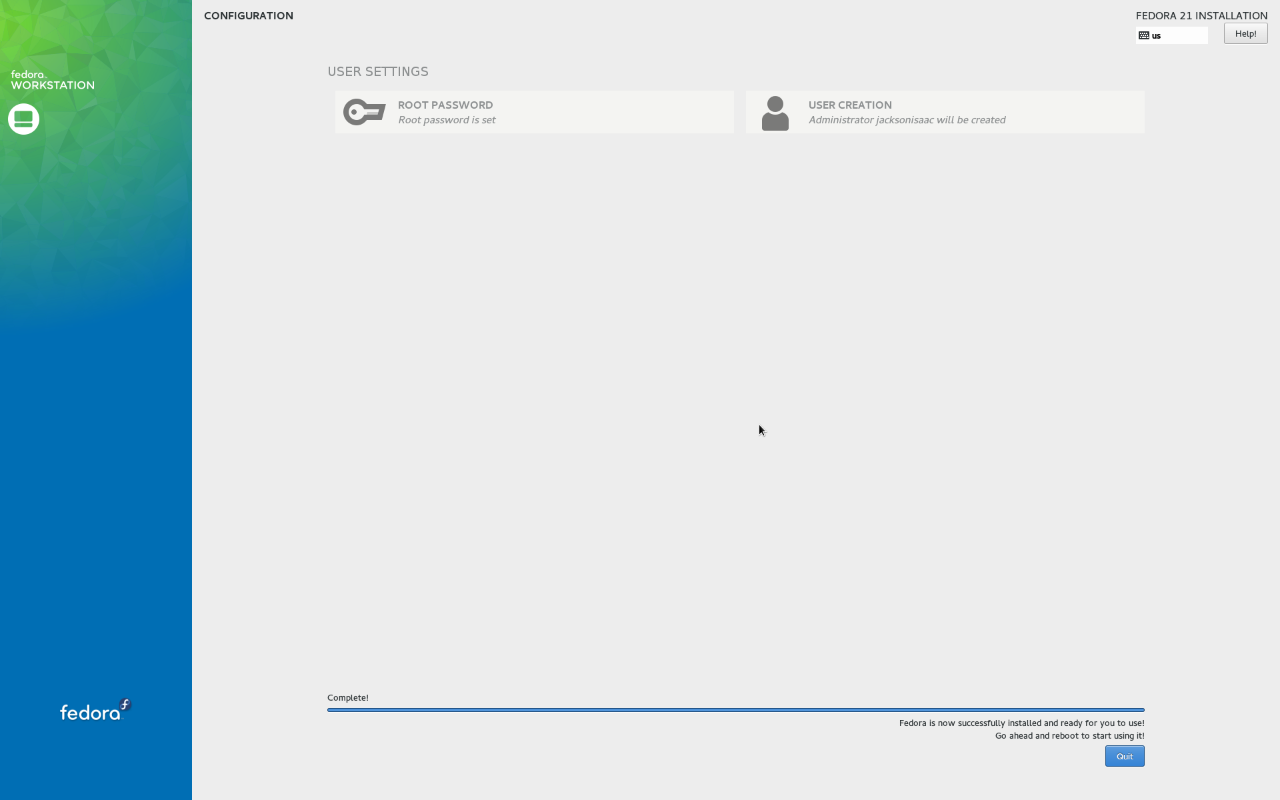
5. Now we need to Configure the root (admin) password and create a user.

6. Enter user Details like Your Name, username and password. Then Click on Done.

7. After the installation is done click on Quit.
8. Reboot your system now and enjoy Fedora 21 🙂
C) Using Fedora 21 for the first time:
1. On startup, you will see Grub Menu like the image below.

Select the appropriate Kernel version (One can install more than one kernel on their machine).
2. Now you can see the Login Screen. Select the user and enter the password to start using Fedora 21.

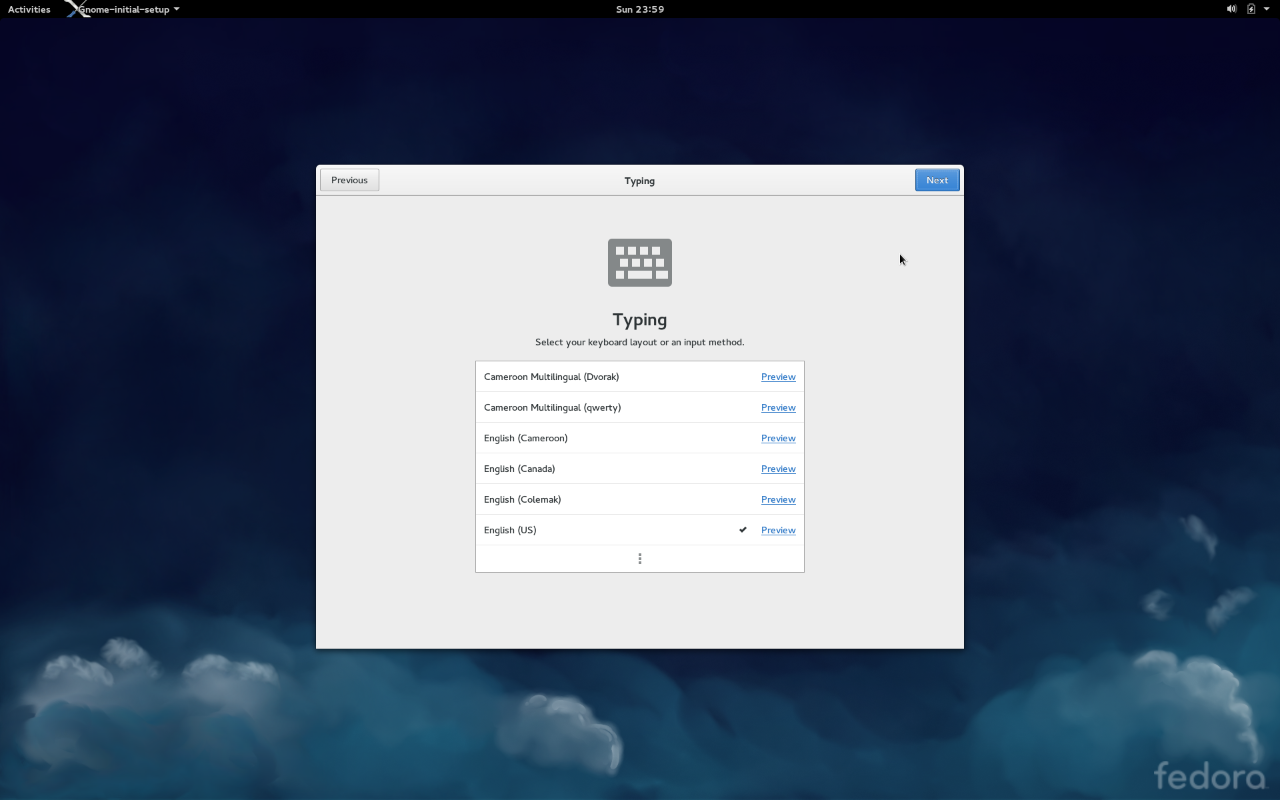
F21 will welcome you on your first run.
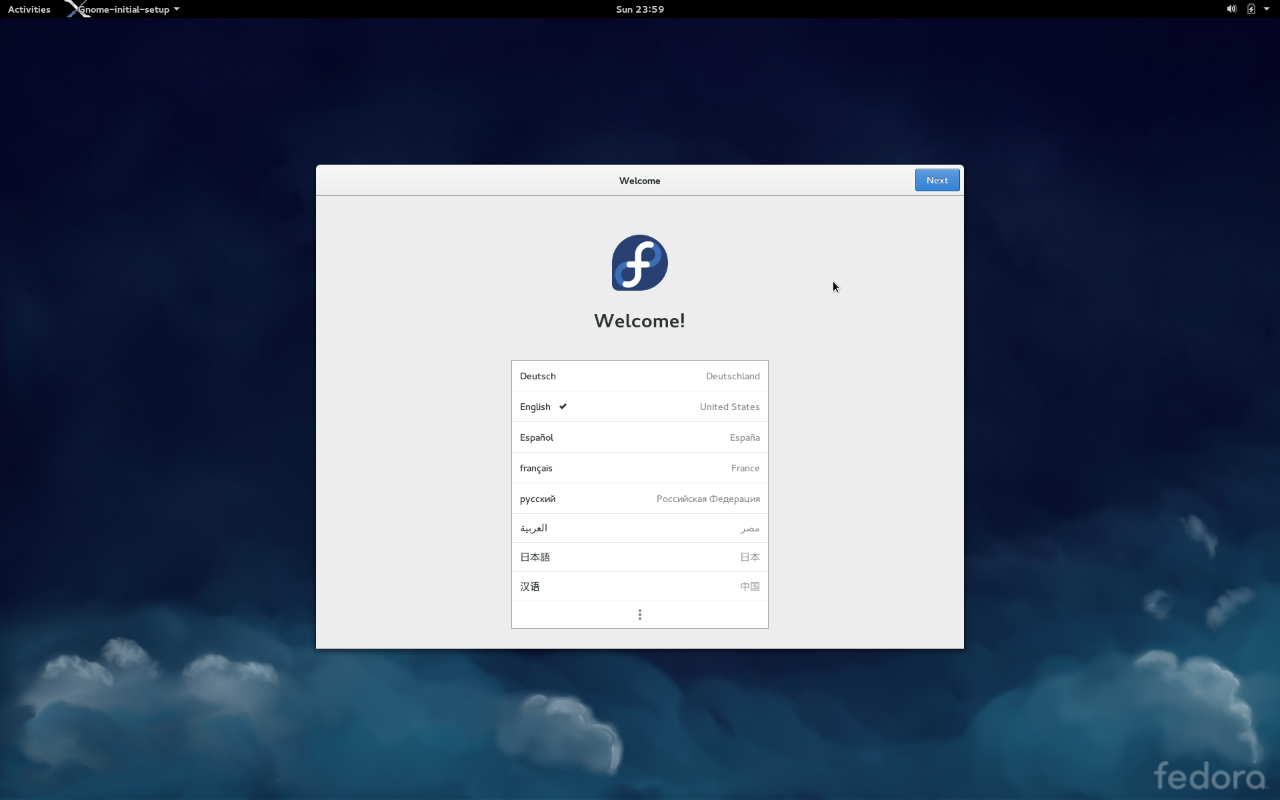
Select the keyboard layout and done. Your Fedora is ready to roll.
Let the Windows be open, and feel the Freedom.

